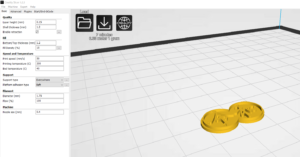
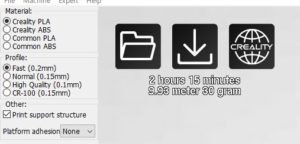
Creality slicerによる設定を確認してみた。
まず一番時間がかかる個所
I checked the settings by Creality slicer.
First place where it takes the most time
print support structure
印刷サポート構造
platform adhesion
プラットフォーム接着
Raft
いかだ
brim
エッジ
none
無し

Raft
いかだ
brim
エッジ
none
無し
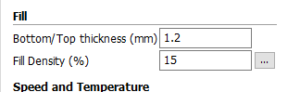
次に、この設定で詳細に設定してみる。
Next, let’s make detailed settings with this setting.
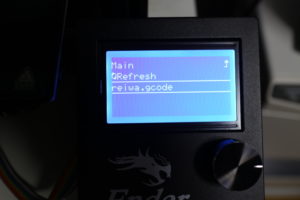
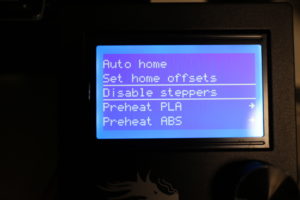
このモードを選択
Select this mode
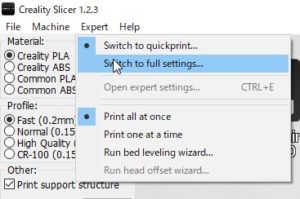
設定をコピーしますかのメッセージ
これは、OK
Do you want to copy settings?
This is OK

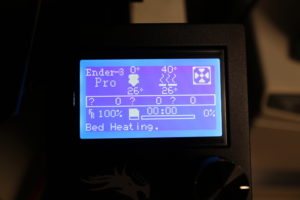
ベットの温度を上昇させなくてもズレは無かったので
今回も40-45度に設定
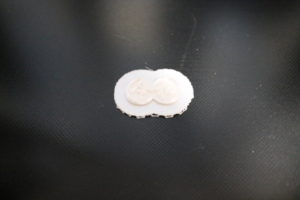
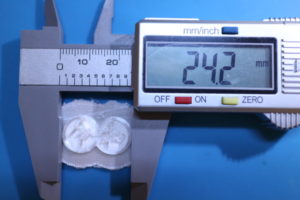
ペットのりで簡易的な剥離試してみた。
積層 6階層で剥離!
まず問題点はペットのりがダメなようだ
既に乾燥しているので高速な印刷で
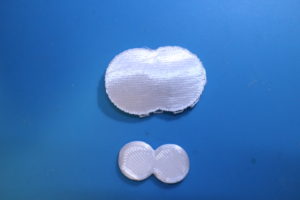
とりあえず、60度でペットノリはやめて印刷する。
そうすると問題なく印刷された。
There was no gap without raising the temperature of the bed
Again set to 40-45 degrees
I tried a simple peeling with a pet glue.
Laminated 6 layers!
The first problem is that pet glue seems to be useless
High-speed printing because it is already dry
For now, stop printing at 60 degrees and print.
Then it was printed without any problems.
今回は、
platform adhesion
プラットフォーム接着
none
無し
で設定
ついでにペットの糊を利用してみた。
さすがに、ベットも再調整
There was no gap without raising the temperature of the bed
Again set to 40-45 degrees
This time,
platform adhesion
Platform bonding
none
None
Set with
I tried using pet glue.
As expected, the bet has been readjusted
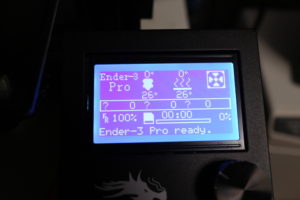
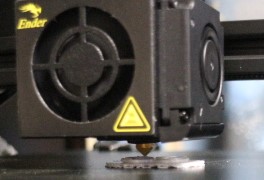
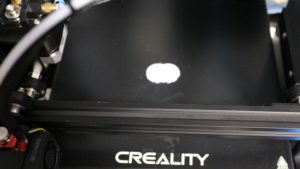
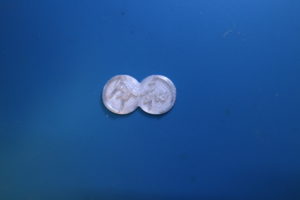
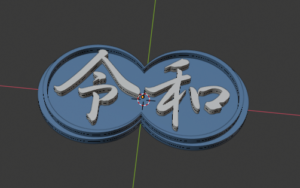
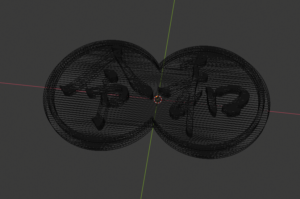
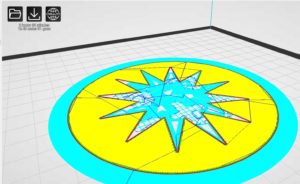
印刷状況

Printing status
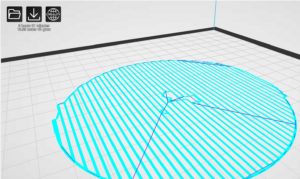
余良くできたスライサーだと思います。
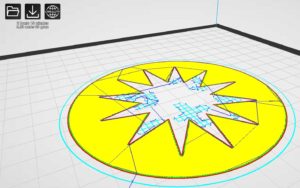
1層目の外周は、待機フィラメントを余分にプリントします
開始位置の不用意なフィラメント出力にならない。
早いに設定すると一部隙間が出ました。
ノズル0.4だけど、0.2ノズルも購入したので
この状態だとあまり気にならない。
失敗する気がしない。(^^)>
I think it is a good slicer.
The outer periphery of the first layer prints extra standby filament
There is no inadvertent filament output at the start position.
Some gaps appeared when set early.
I bought 0.4 nozzle but 0.2 nozzle
In this state, I don’t care much.
I don’t feel like failing. (^^)>
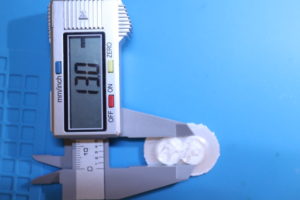
2時間33分 10.98mと出た。
積層は、40層