
少し時間が出来たので、Raspberry Pi Zero Wに、OSを入れてみる。
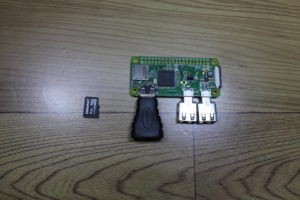
かき集めて
HDMIからMicro hdmi USBからmicroUSB 2個
Now that I have some time, I’ll put the OS in the Raspberry Pi Zero W.
Collect
HDMI to Micro hdmi USB to micro USB 2
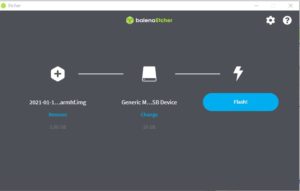
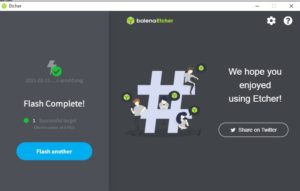
フラッシュソフトウェア
Flash software
https://www.balena.io/etcher/
インストール
Installation
オフィシャルからOSをダウンロード
Operating system images
Raspberry Pi OS with desktop
Raspberry Pi OS Lite
動作させるのは、Raspberry Pi OS Liteで良いが、GUIで操作したいので両方をダウンロード
Download OS from official
Operating system images
Raspberry Pi OS with desktop
Raspberry Pi OS Lite
Raspberry Pi OS Lite is fine to run, but I want to operate with GUI, so download both
https://www.raspberrypi.org/software/operating-systems/
初めは、操作方法が既に忘れている、viが苦手なのでとりあえず、Raspberry Pi OS with desktopを導入
動作したら、Raspberry Pi OS Liteを導入するかな?
At first, I have already forgotten the operation method, I am not good at vi, so for the time being, I introduced Raspberry Pi OS with desktop
If it works, will I install Raspberry Pi OS Lite?
Raspberry Pi OS with desktopは、最低4GB必要!
Raspberry Pi OS with desktop requires at least 4GB!
はは!
マウスは使えん!
とりあえずGUIは簡単
my mother!
You can’t use a mouse!
GUI is easy for the time being
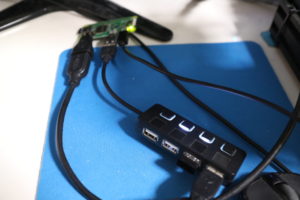
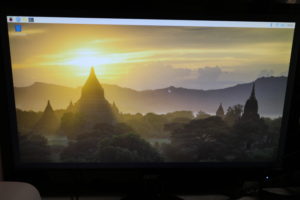
接続は、こんな感じ!
The connection looks like this!
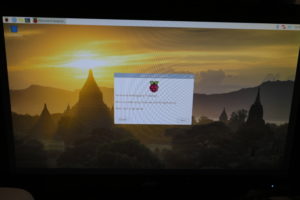
おお動いた、起動するのに、1分程度
It worked, it took about 1 minute to start
n8nを稼働させるには、固定IPとなるが、ルータで設定したほうが安心。
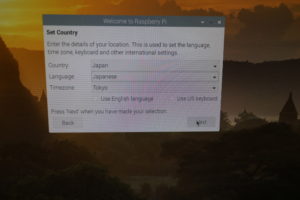
locate
言語
timezoneをこれで設定する
結構大変なので、キーボードの動作の方が使える TABで移動
もし、LITEだと
pi@raspberrypi:~ $ ls -l /etc/localtime
lrwxrwxrwx 1 root root 33 Jun 20 15:41 /etc/localtime -> /usr/share/zoneinfo/Europe/London
こんな感じになっているので、コマンドで
sudo dpkg-reconfigure tzdata
pi@raspberrypi:~ $ sudo dpkg-reconfigure tzdata
If it’s LITE
pi @ raspberrypi: ~ $ ls -l / etc / localtime
lrwxrwxrwx 1 root root 33 Jun 20 15:41 / etc / localtime-& gt; / usr / share / zoneinfo / Europe / London
It looks like this, so with a command
sudo dpkg-reconfigure tzdata
pi @ raspberrypi: ~ $ sudo dpkg-reconfigure tzdata
Current default time zone: ‘Japan/tokyo’
と設定!
Current default time zone:’Japan / tokyo’
And set!
これは使えないので、とりあえずSSHとVNCを、実行させる。
This cannot be used, so let’s run SSH and VNC for the time being
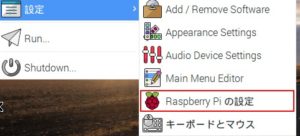
GUIで設定する方法
raspberry piを起動したら「スタートメニュー」>「設定」>「Raspberry Piの設定」をクリックします。
How to set with GUI
After launching the raspberry pi, click Start Menu> Settings> Raspberry Pi Settings.
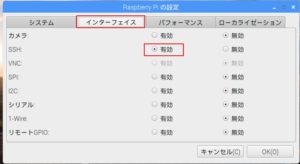
これでOK
後はリモートから接続する。
windows10 1803以降は、SSHが当然ながら使える。
オプション機能の追加」画面が表示されるので、「機能の追加」をクリックする。
This is OK
Then connect remotely.
After windows10 1803, SSH can be used as a matter of course.
The “Add optional function” screen will be displayed. Click “Add function”.
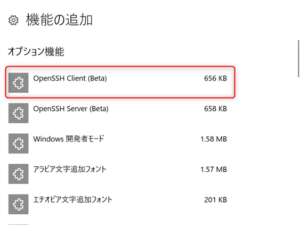
これが入っていれば、SSHは通常で利用できる。
If this is included, SSH can be used normally.
特殊な設定をしなければ、
ssh pi@raspberrypi.local
接続される。
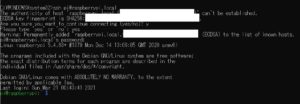
こんな感じで
とりあえず、今日はここまで。
Unless you make special settings
ssh pi@raspberrypi.local
Be connected.
Like this
For the time being, that’s all for today.
liteの方が快適でした
再度、イメージ作成
はじめ
login
pi
password
raspberry
パスワードは必ず変更
これを絶対忘れないうに、以前より簡単。
sudo raspi-config
WIFIで設定を実行
SSHを実行
パスワードを変更まで