ようやくIFFFTの脱出が終了して、数か月!
ネット回線は
TP-LINK Deco M9 を購入して分かった事
これで完璧に障害が無くなった。
次に、考えているのは、スマートホームの見た目を美しくしたい!
できるなら、懐かしいエンタープライズの操作パネル
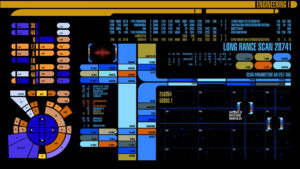
が作りたい。
え?(´・ω・`)
トレンドは音声操作と思うが、正直あれは、誇大広告だろう。
複数のデバイスといえど、せいぜい5台ほど。
これは、使えない!
アレクサやグーグルホームが複数ある。
声の聞こえる範囲なら誤動作で一生を終える。
会話がそもそも成り成り立たない。
すいません、わかりません、誤動作ばかり。
他で見ていたら笑える!スイッチが、3mほど無いところにあるのだから。
貧乏人に、スマートホームという夢は朽ち果てた。
多分、本当のスマートホームは、それに特化したシステムを構築すべき事だと
改めて思い知らされる。
原点に戻り、今の環境と維持費で確実に操作できるスマートホームを目指してみた。
それが今である。
スマートモジュールは、日夜増え続けている。
各部屋と外気の温度、湿度、気圧はすべて確認できる。
1部屋あたりのモジュールの開発費 250円/1ユニット、維持費 20円/月 程度
このモジュールは、セキュリティユニットやインターホン的な使い方もでき、
直接ACからDCをモジュールでコンバートして、内部バッテリーを充電
リチウムシートバッテリーを搭載してるため無駄がない。
リチウムシートバッテリーは、100円程度
正直これだけ
1台だけは、5V電圧のソーラパネルを自作して(´・ω・`)
割れた枚数8枚が尋常じゃない
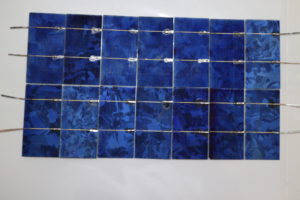
実験中
ただし、見た目良くない、妻に睨まれそうなので
思考中
結局のところ、外に出すより窓に当てて置けば全く問題ない。
この大きさで、タブレット1台分の許容量
話が長くなる・・
各部屋にタブレット(旧のタブレット)を設置した。
捨て置かれそうなタブレットをあさり、インターネットはできるようにしている。
何をしたいか、その通り外部サーバは、IFFT脱却の覇者がある。 100円/月サーバ
これを利用する。
これが一番単純、汎用的、費用最低。
所詮、アプリというが中身はほとんどこれ!
これに広告を強制的に入れるのが、今現在のスマートホンの成れの果て
悪くはないけどね、最近うるさすぎな広告に疲れ果て
思っていたのはエンタープライズのような操作
今でも程遠い、結局、スマートホームを揃えて課金するほどのエキサイティングな操作には決してならない事。
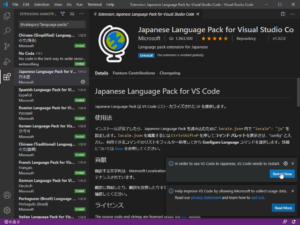
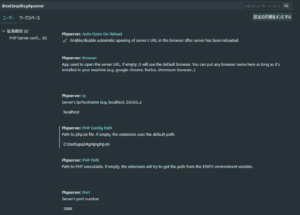
まずソフトの選定
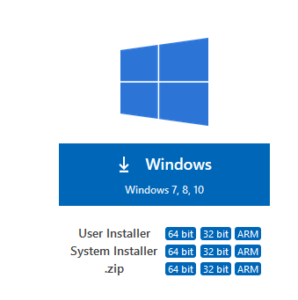
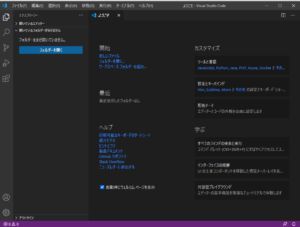
Visual Studio Code
https://azure.microsoft.com/ja-jp/products/visual-studio-code/
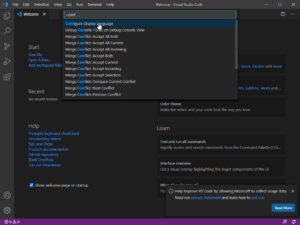
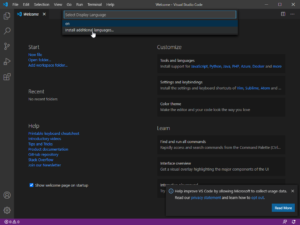
これが、使いやすいというのでインストールしてみた。
It’s been a few months since the escape of IFFFT was finally completed!
Internet line
What I found after purchasing the TP-LINK Deco M9
This completely eliminated the obstacles.
Next, I want to make the appearance of smart homes beautiful!
If possible, a nostalgic enterprise control panel
Want to make.
e? (´ ・ ω ・ `)
I think the trend is voice manipulation, but to be honest, it’s a hype.
Even if there are multiple devices, there are at most five.
This can’t be used!
There are multiple Alexa and Google Homes.
If you can hear the voice, it will end your life with a malfunction.
The conversation doesn’t hold in the first place.
I’m sorry, I don’t know, only malfunctions.
You can laugh if you look elsewhere! Because the switch is about 3m away.
For the poor, the dream of a smart home has decayed.
Perhaps a real smart home should build a system specialized for it.
I am reminded again.
Returning to the starting point, I aimed for a smart home that can be operated reliably with the current environment and maintenance costs.
That is now.
The number of smart modules is increasing day and night.
You can check the temperature, humidity, and atmospheric pressure of each room and the outside air.
Module development cost per room 250 yen / unit, maintenance cost 20 yen / month
This module can also be used as a security unit or an intercom,
Convert AC to DC directly with a module to charge the internal battery
There is no waste because it is equipped with a lithium seat battery.
Lithium seat battery is about 100 yen
To be honest, this is all
For only one, I made my own 5V voltage solar panel (´ ・ ω ・ `)
8 broken sheets are unusual
During the experiment
However, it doesn’t look good, because my wife seems to stare at me
Thinking
After all, it’s perfectly fine to put it on the window rather than outside.
With this size, the capacity for one tablet
The story gets longer …
A tablet (old tablet) was installed in each room.
I’m trying to get the internet available by scavenging tablets that are likely to be thrown away.
What you want to do, that’s right, the external server has the champion of breaking out of IFFT. 100 yen / month server
Use this.
This is the simplest, most versatile, and least expensive.
After all, it’s called an app, but the contents are almost this!
Forcing advertisements into this is the end of today’s smartphones.
Not bad, but I’ve been tired of ads that are too noisy these days
What I was thinking was an enterprise-like operation
It’s still far from it, and in the end, it’s never as exciting as having a smart home and charging.
First, software selection
Visual Studio Code
This is easy to use, so I installed it.