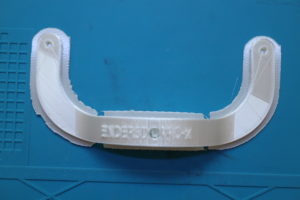
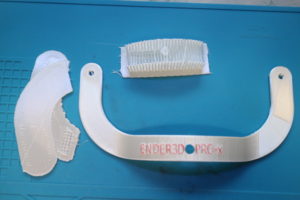
印刷200mあたりで、3d成形の出来が悪くなった。
そこで清掃
ノズルの清掃
0.4mmの備え付け清掃ピン
Around 200m of printing, 3d molding became poor.
Cleaning there
Nozzle cleaning
0.4mm built-in cleaning pin
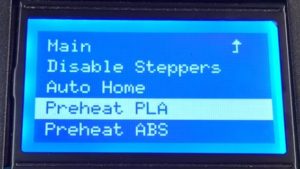
説明書が英語でそこまで明確でないので
Preheat PLA エクストルーダー:
180度まで加熱(デフォルト設定の場合)
Because the instructions are not so clear in English
Preheat PLA extruder:
Heats up to 180 degrees (default setting)
When the temperature rises to the set temperature
Extruder
Extruder
Eject in 0.1mm increments
Nozzle cooling fan is not standard but 3D molding is installed
Even if it is standard, it will go out straight
It can be judged that it is jammed if it is a door-and-roar.
After leaving all, clean several times with the cleaning pin.
When it finally comes out in a straight line, it’s done.
オブジェクト
追加
円柱
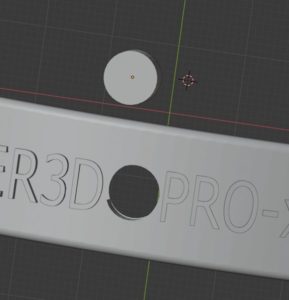
The way to drill holes was wrong
It was faster to use difference
object
add to
Column
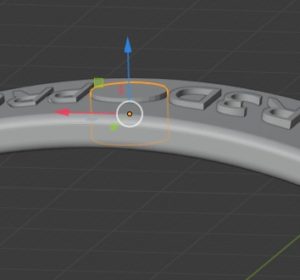
サイズを手動で設定
Set size manually
穴をあけたい位置へ円柱を移動
Move the cylinder to the position where you want to make a hole
穴をあけたいオブジェクトを選択
この場合は
HANDLE がそのオブジェクト
Select the object you want to drill
in this case
HANDLE is the object
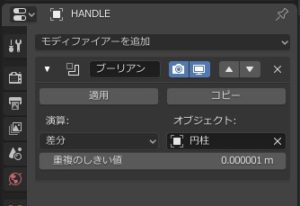
モディファイヤーを追加
ブーリアン
差分
オブジェクトに差分の対象となるオブジェクトを選択
この場合
円柱
Add modifier
Boolean
Difference
Select the object to be compared with the object
in this case
Column
適用
Application
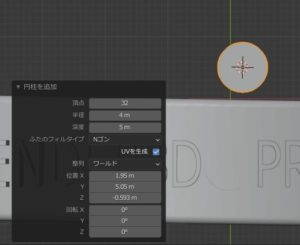
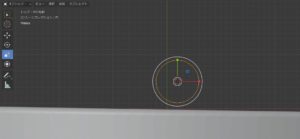
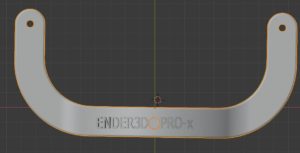
表面に穴をあけたいこれが厄介だ
まずオブジェクト
追加
メッシュ
円を選択
拡大縮小で8mmまで拡大。
I want to make a hole in the surface
First object
add to
mesh
Select circle
Scale up to 8mm.
次に
編集モード
next
Edit mode
これで円が、メッシュとなり
操作ができるようになる。
※ショートカットキーもあるが一様に動作しているか不明瞭
This makes the circle a mesh
Be able to operate.
* There is a shortcut key, but it is unclear whether it works uniformly
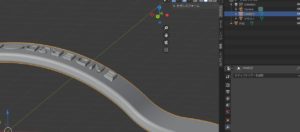
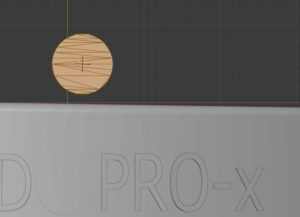
次に開けたいオブジェクトの投影できる位置に移動する。
アクションカメラの軸受け径は6mmなので余裕を見て8mmにした。
Next, move to a position where the object to be opened can be projected.
Since the bearing diameter of the action camera is 6mm, it was set to 8mm for extra room.
オブジェクトモードで円と穴をあけるオブジェクト同時に選択する。
In the object mode, select a circle and an object to make a hole at the same time.
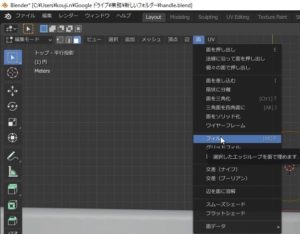
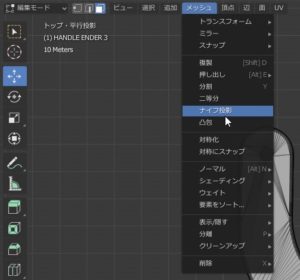
そして編集モード
And edit mode
面
メッシュ
ナイフ投影
で穴をあけるオブジェクトに円が投影される。
surface
mesh
Knife projection
A circle is projected on the object to be drilled with.
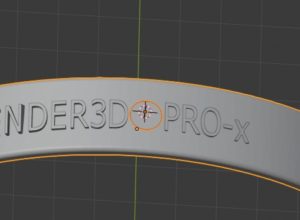
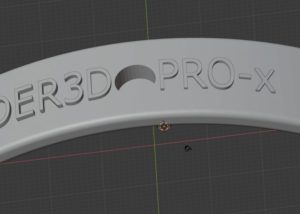
そのまま押し出しで穴をあけられる。
You can make a hole by extrusion.