良しという事で、ちょっと見ると
妻の一工夫を発見!
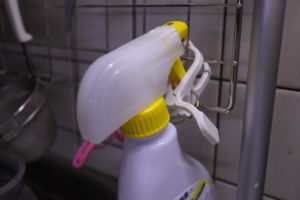
メッシュにぶら下がる怪しいアルコールスプレー
これは、すごいな (^^>
If you look at it for a moment,
I found my wife’s device!
Suspicious alcohol spray hanging on the mesh
This is amazing (^^>
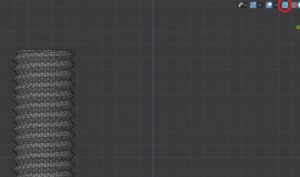
そこで急遽
追加モデリング
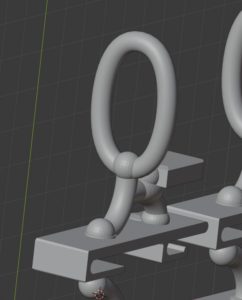
So in a hurry
Additional modeling
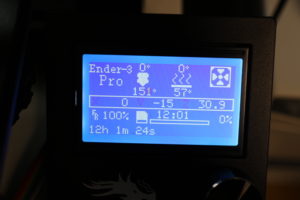
これで9時間
うまくいくかな?
とりあえずスタート
エンダーちゃんは、7時間動作させても、
切れる事も無く、全く正常に稼働している。
今回は、10時間だ大丈夫だろうか?
130mほど稼働しているが、
ヒューマンエラーはあるが、プリンターの失敗と言うような事も無い。
安心して動作させられる。
不思議だ。
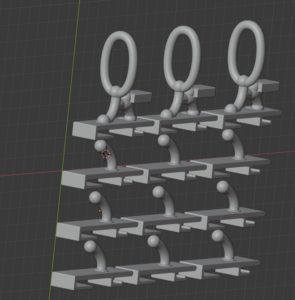
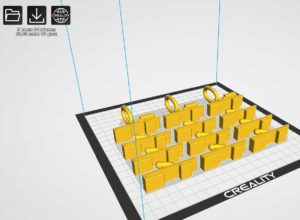
This is 9 hours
Does it work?
Start for the time being
Ender-chan can work for 7 hours,
It has not been cut and is operating normally.
Is it okay 10 hours this time?
It is running about 130m,
Although there are human errors, there is no such thing as a printer failure.
It can be operated with peace of mind.
It’s strange.
積層中
良い感じ
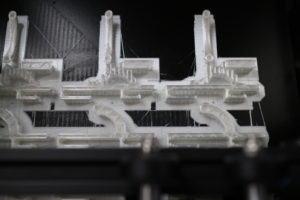
During lamination
Good feeling
完成!
なんと12時間もかかってしまった。
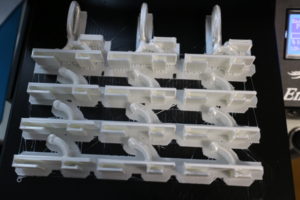
Complete!
It took 12 hours!
スプレー用フックは、初回にしては良い出来だ。
結構すべての製品に対応かと
強度はというと2k程度は大丈夫だと思う。
妻の使い方を見ていると頻繁に使っている。
このようなアルコール製品は、サクッととりだし、シュッシュ
サクッと戻すを繰り返す。
なので、1kg程度+加速度に対する荷重を考慮する必要性があったので
上下に支点を設置、荷重のかかる位置は、支点拡散できるにした。
尚且つ、戻すときに揺れる
スプレー部にアルコールや塩素が付着すると飛散するのでよろしくない。
そこで、ハンドルが前に行かない様にプロテクターを設置
ハンドルをかける位置は、楕円にする事で斜めからの出し入れ
も直方向へ荷重で補正するようにした。
フィット感は良い。

Spray hooks are good for the first time.
Does it support all products?
I think the strength is about 2k.
When I see how to use my wife, I use it frequently.
Alcohol products like this are crispy and slushy
Repeat returning quickly.
So it was necessary to consider about 1kg + load for acceleration
The fulcrum is set up and down, and the fulcrum can be spread at the position where the load is applied.
In addition, it shakes when returning
If alcohol or chlorine adheres to the spray part, it will be scattered.
So, install a protector so that the handle does not go forward
The handle can be placed at an angle by making it elliptical.
Is also corrected by the load in the direct direction.
The fit is good.