
photoscanも結構豊富に作れて早いのだが
ここは細かな点群を調整する意味でcloudcompareを使う
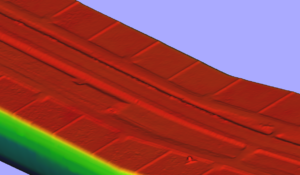
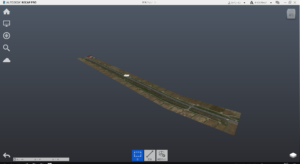
メッシュを作成後、必要とする何かと言うと画面上の緑の部分
これデータが無いけどどうしても作られてしまう
It is too early to make photoscan fairly abundantly
Here, use cloudcompare to adjust fine point clouds
After creating the mesh, something you need to say is the green part on the screen
It would be made anyway but this data is not
octree depth 11
このデータを削除しないと意味がないので早速消す。
If you do not delete this data it will be meaningless and erase it immediately.

メッシュをクリック
プロパティを参照
SF display params
でマルイアイコンを左右に
普通なら、赤い帯だけにすれば良い。
Click mesh
Browse properties
SF display params
With Marui icon left and right
Normally you only need to make a red stripe.

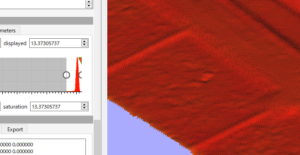
緑の部分が消えたと思う。
I think the green part disappeared.
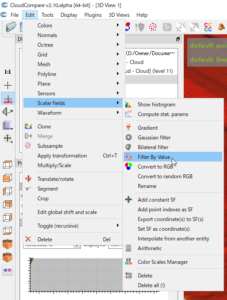
Edit >> Scalar fields >> Filter By Value
設定したフィルターでデータを作るよって
Edit >> Scalar fields >> Filter By Value
I will make data with the filter I set up
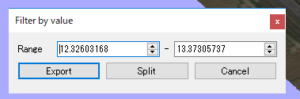
exportでデータが作成される。
Data is created with export.

後は、適意なファイルでエクスポートすればいい
After that, you can export it with a suitable file
とりあえず、馴染みのない E57ファイルをRECAP PROで読み込んでみた。
For now, I read an unfamiliar E 57 file with RECAP PRO.